In Custom Print Report, users can upload their own designed templates in addition to using the default ones. Sometimes, manual adjustments to the templates are needed before uploading. The following outlines considerations for designing and adjusting templates manually.
Currently, only docx templates are supported. It is recommended to start by downloading the default template from the Custom Print Report settings page before making manual adjustments. You can then modify the table's background color, borders, positions, and add titles, text, or images as needed. Be aware of the different syntax for independent fields and subtable fields when adding or removing fields.
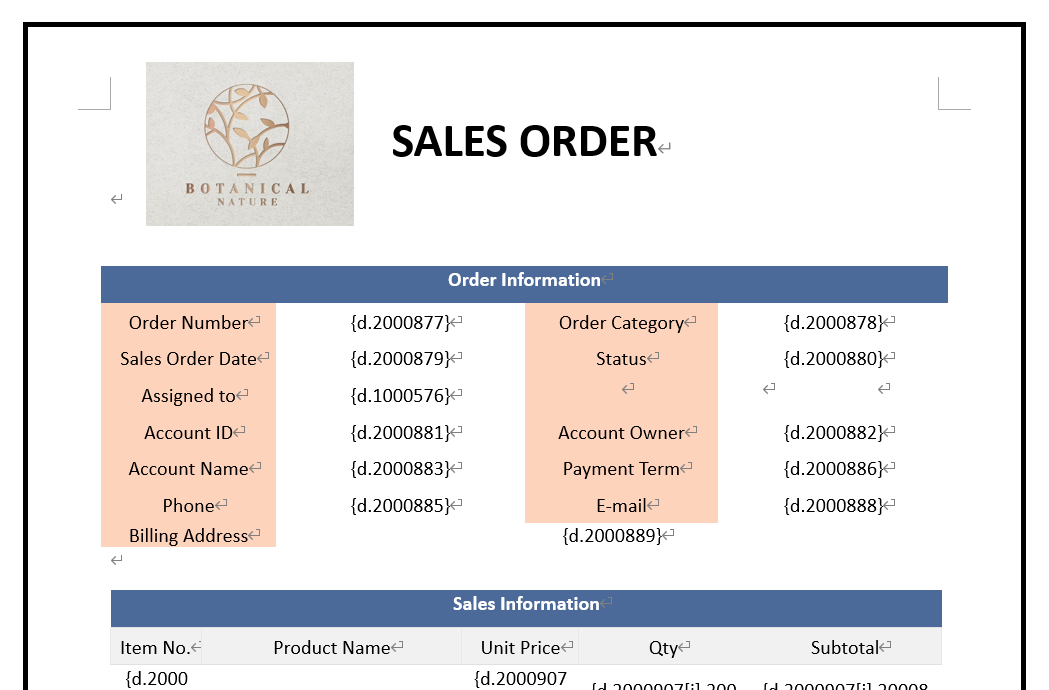
Note: When adjusting the position of Subtables, avoid placing different Subtables in the same row to prevent printing issues.
1. Single-Select Image Upload
If the single-select Image Upload field do not output correctly, you can download the default template again. If re-downloading the default template is inconvenient due to using a custom-designed template, refer to the following methods:
Since Image Upload fields are output as images, you cannot directly reference the fields in a template by entering {d.field_id}. The correct approach is as follows:
Method 1: Using Field Parameters from the Default Template
1. Go to the custom print report setup page and download the latest default template.
2. Copy the corresponding Image Upload field from the default template (the field will display an image with the text "This is a TEMP IMAGE"; make sure to copy the entire column).
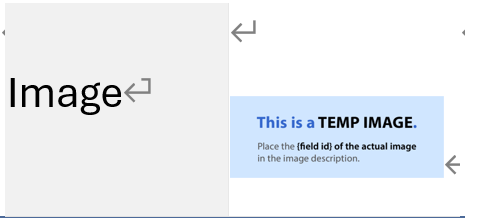
3. Paste the copied field image into your template. After uploading and saving it as a custom print report, the Image Upload field will display correctly.
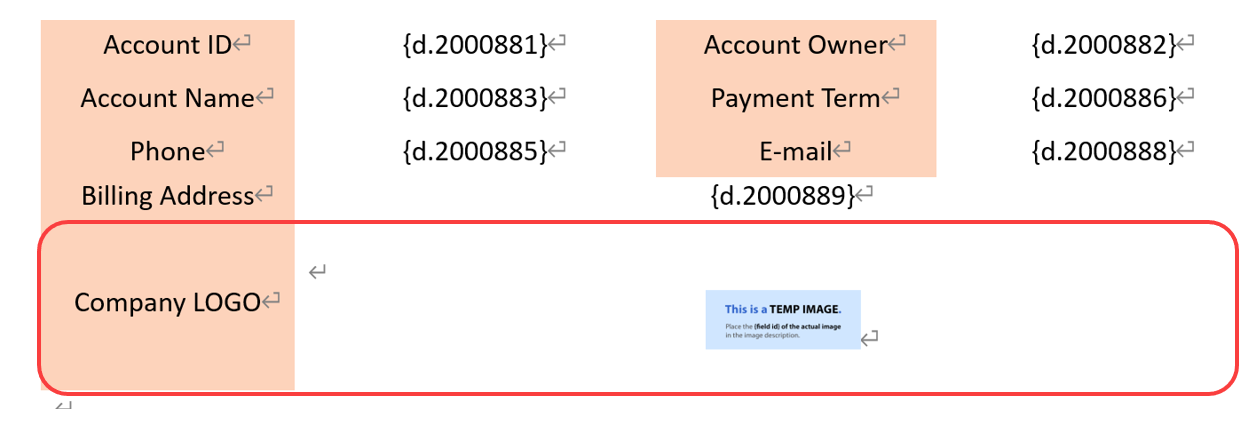
Method 2: Manually Adding Field Parameters
1. Open your custom template. At the location where you want to insert an Image Upload field, upload any image from your computer.
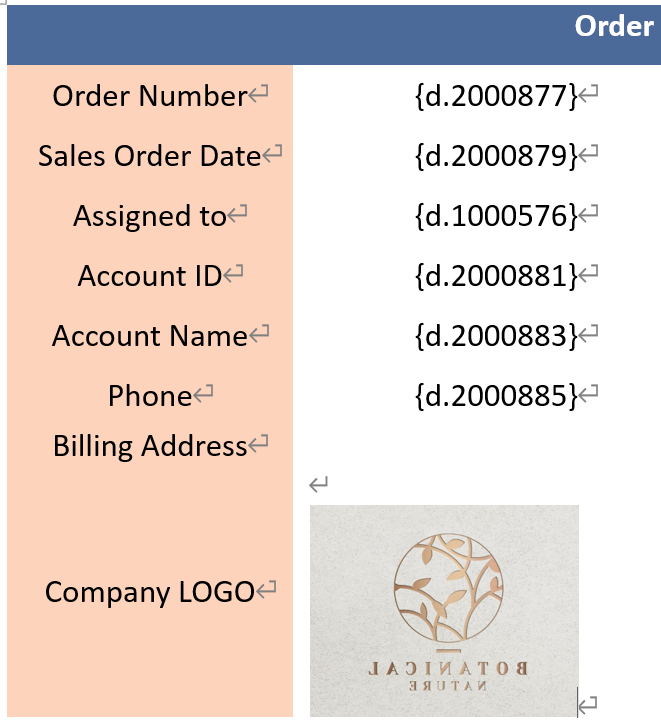
2. Right-click on the image you just inserted and select "View Alt Text".
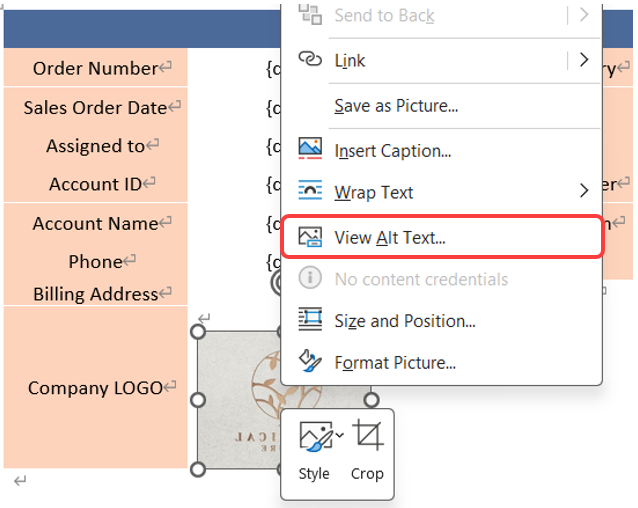
3. In the "Alt Text" description field, enter the field syntax(refer to the Field Value Syntax Reference) for the Image Upload field from the sheet in the format {d.field id}.

2. Multiple-Select Image Upload
If the Image Upload field is later modified to allow multiple images, be sure to download and use the latest default template. If it is inconvenient to re-adjust the template, you can instead add IMG:html to the field syntax.
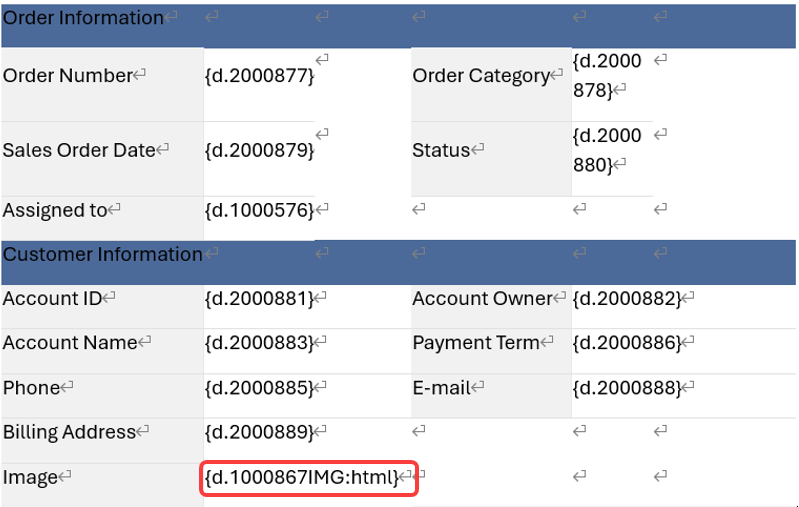
Note: If only one image is uploaded and "Max Height" and "Max Width" are not specified, the image will default to 300px × 300px. If specified, the image will be displayed according to the defined settings. For multiple images, the system adjusts each image’s size based on the total number to avoid layout issues. As a result, the more images uploaded, the smaller each image will appear, and they may not follow the exact specified size.
3. Output Blank Field
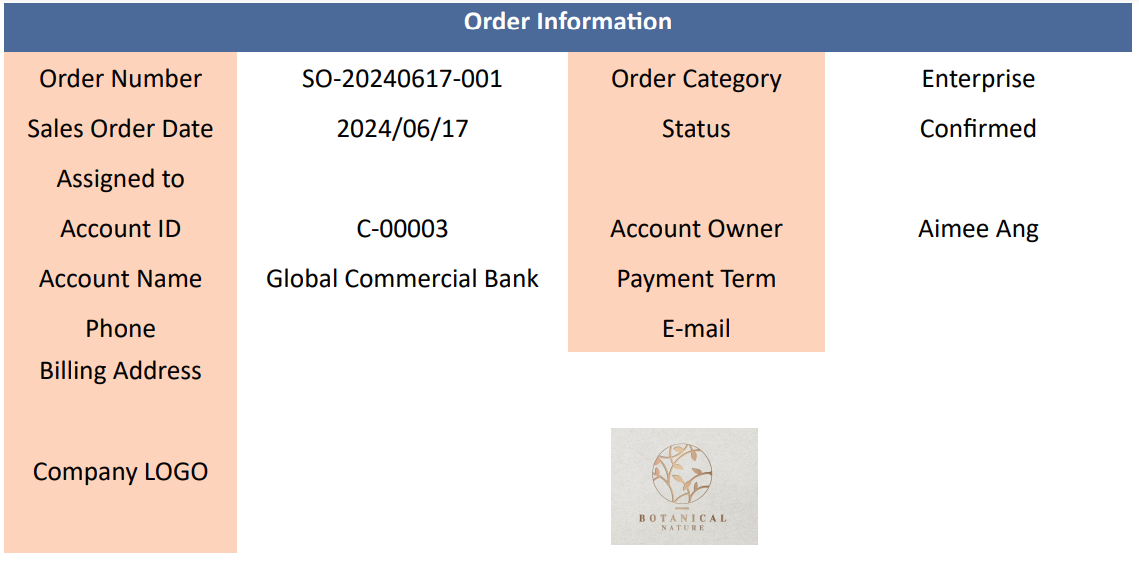
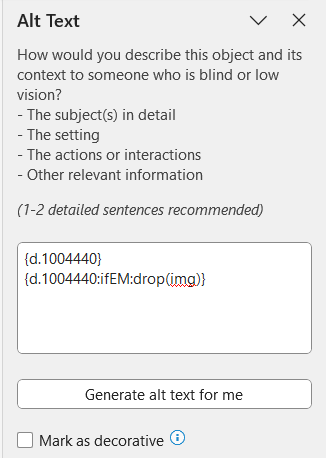
If the image field is empty and the downloaded file displays the field as shown in the image below, please edit the image field’s "Alt Text" in the template by adding {field_parameter:ifEM:drop(img)}, then re-upload the template.

If the Signature fields or Barcode fields do not output correctly, you can download the default template again. If re-downloading the default template is inconvenient due to using a custom-designed template, refer to the method for adjusting templates for Image Upload fields.
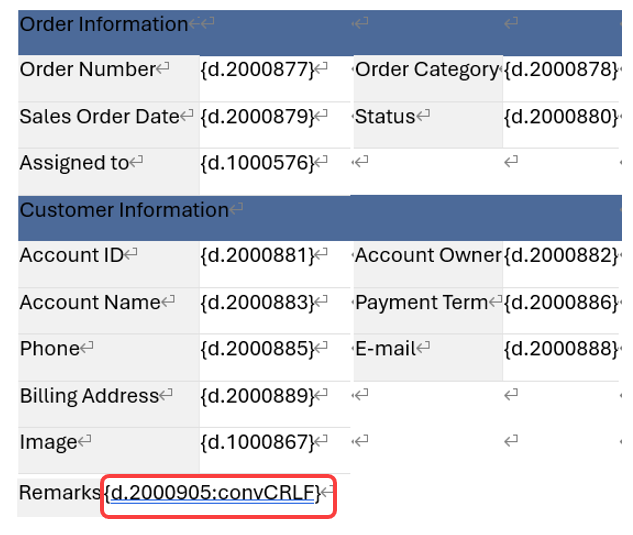
When using alt+enter to add line breaks in a Free Text field, you need to manually adjust the field syntax in the template by adding :convCRLF after the field syntax. This ensures that the field content is correctly displayed with line breaks in the downloaded file.
If you use BBCodes in a Free Text field or apply styles in the Rich Text Editor and want to retain the formatting when exporting, you need to adjust the field parameters accordingly. Please refer to the table below for the explanation of two available parameters:
| Parameter Format | html Format | html(inline) Format |
|---|---|---|
| Example | {d.1002578:html} | {d.1002581:html(inline)} |
| Supported BBCodes | br, b, i, u, s, li, ol, ul, img, url, color | b, i, u, s, color (Does not support URLs, images, or any BBCode that creates line breaks) |
| Suitable For | When full styling is needed and field values require line breaks (e.g., paragraphs, lists) | To display only basic styling and keep the field value on a single line due to specific layout requirements. |
Example:
Export the record in the image below using two different parameter formats to produce the following output.
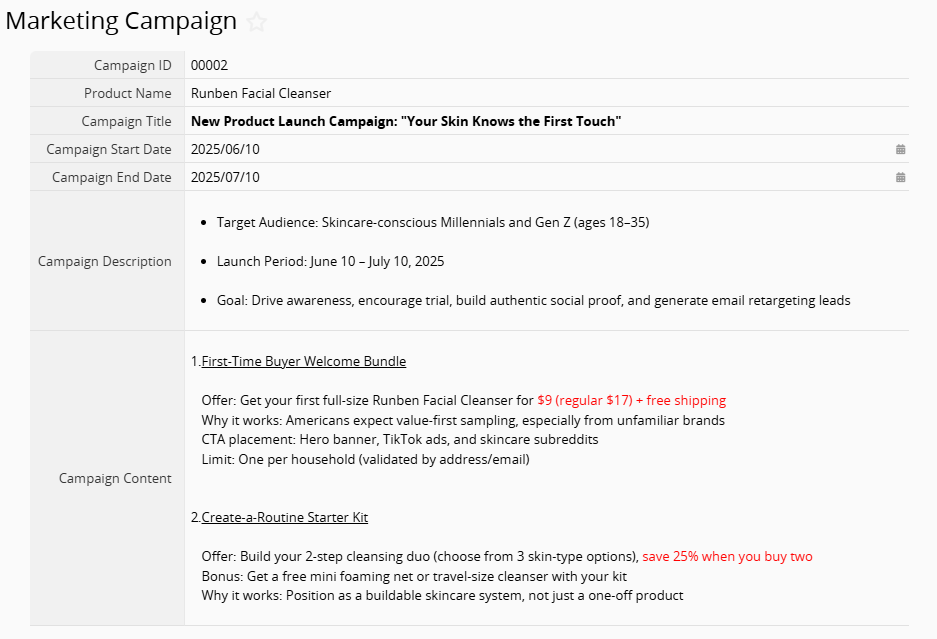
html Format

html(inline) Format

If you want the printed file to show the current date and time, add the following parameter to the template: {c.now:formatD('YYYY-MM-DD HH:mm:ss')} 。
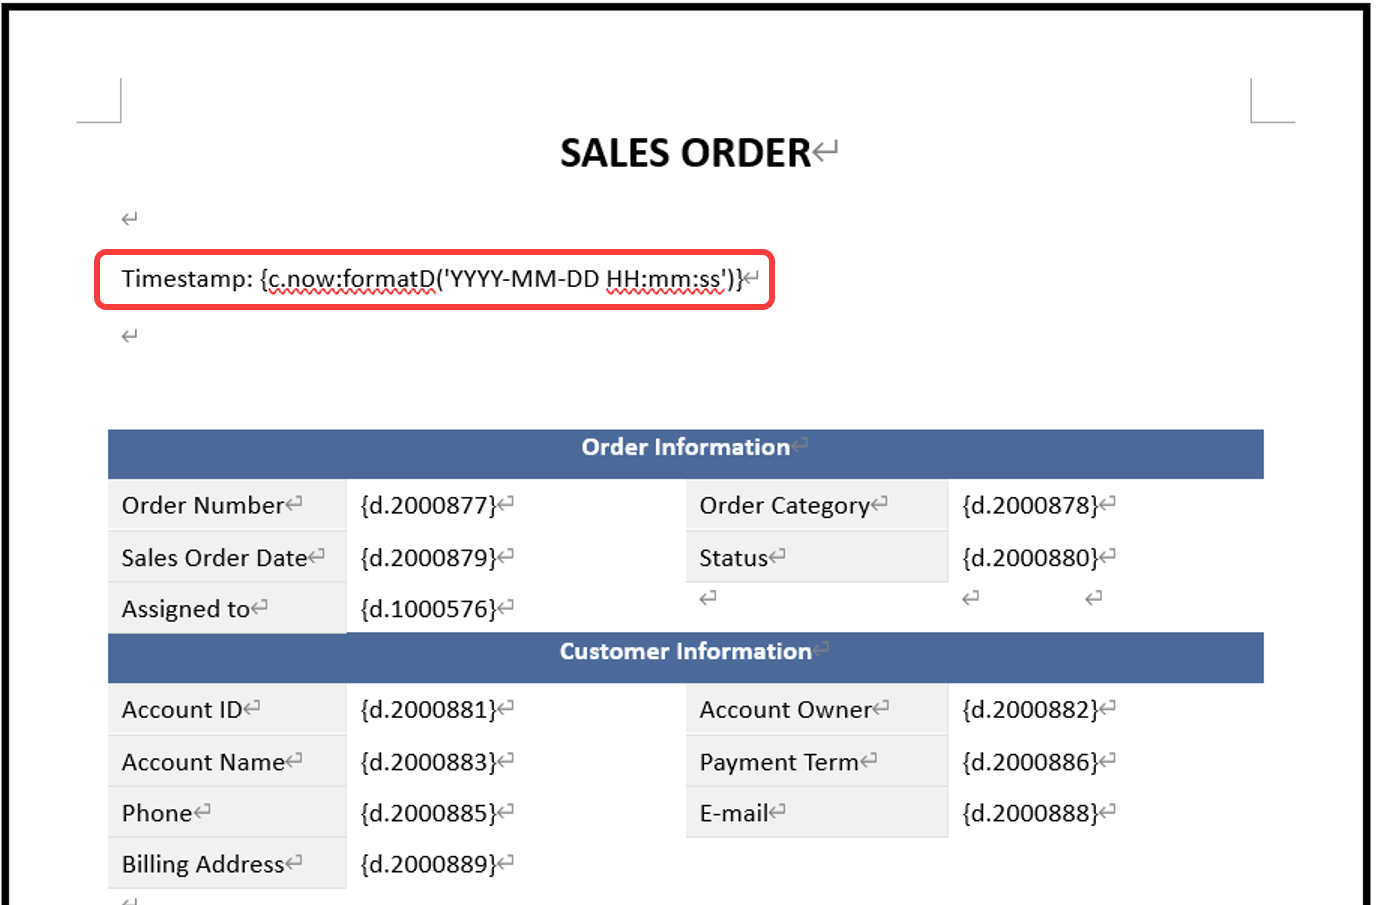
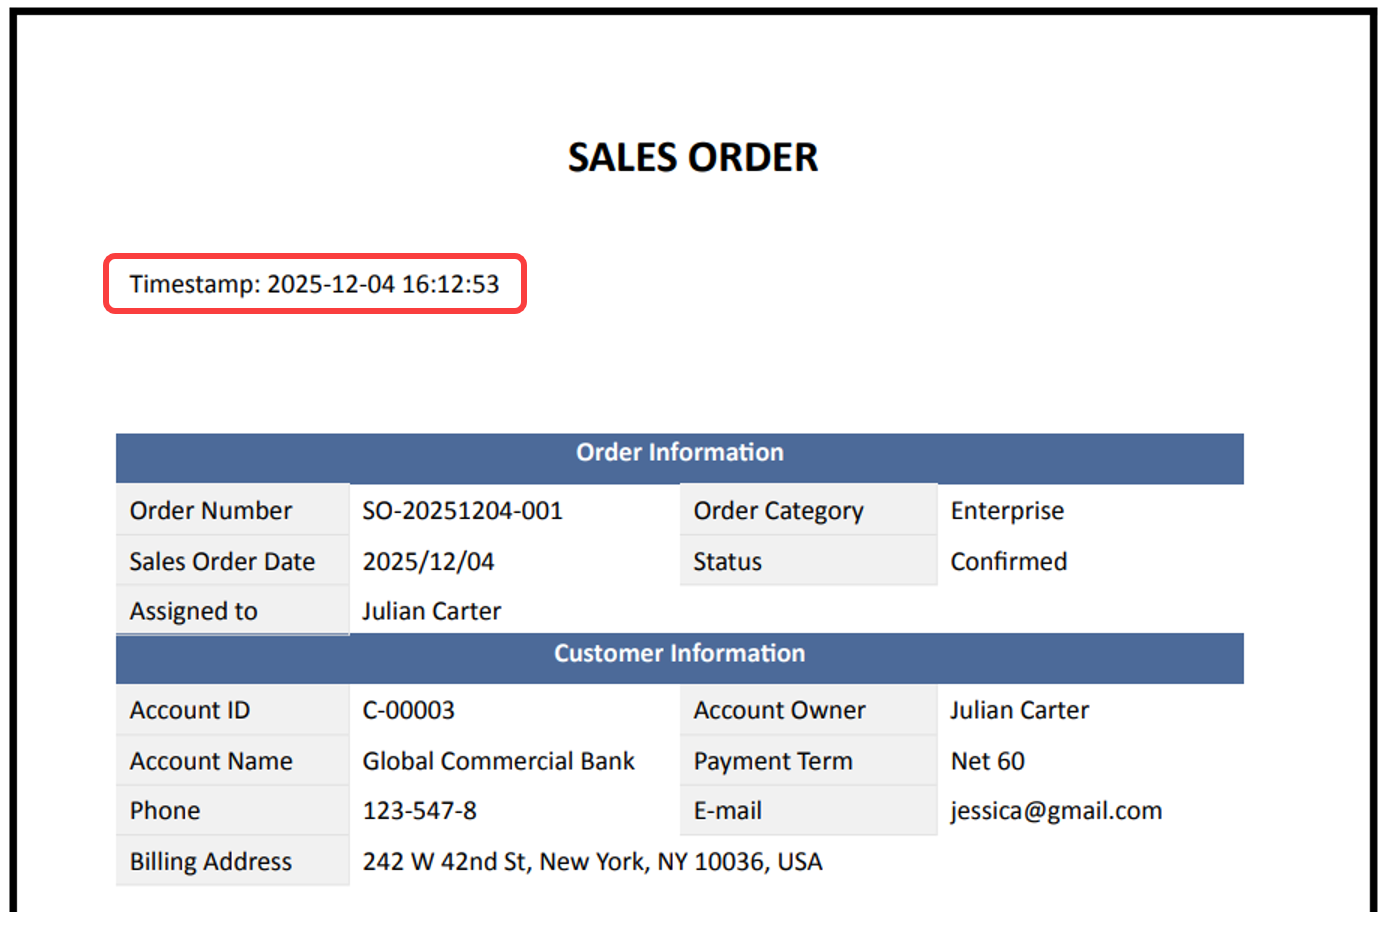
Notes:
1. For available date and time formatting options in formatD(), please refer to this page.
2. Use "single quotation marks" in the parameter, and only use ', not ’.
3. The time will be displayed based on the time zone set in your Company Settings.
By adding specific parameters to your template, you can append the PDF files stored in designated File Upload fields to the final exported PDF document. You may choose to place the appended files at the beginning or at the end of the output. The following examples assume that the field parameter for the File Upload field is "d.1234567".
Append to the End
Add the following parameters at any position in the template:
{d.1234567FILE_URL[i]:appendFile}
{d.1234567FILE_URL[i+1]}
Append to the Beginning
Add the following parameters at any position in the template:{d.1234567FILE_URL[i]:appendFile(start)}
{d.1234567FILE_URL[i+1]}
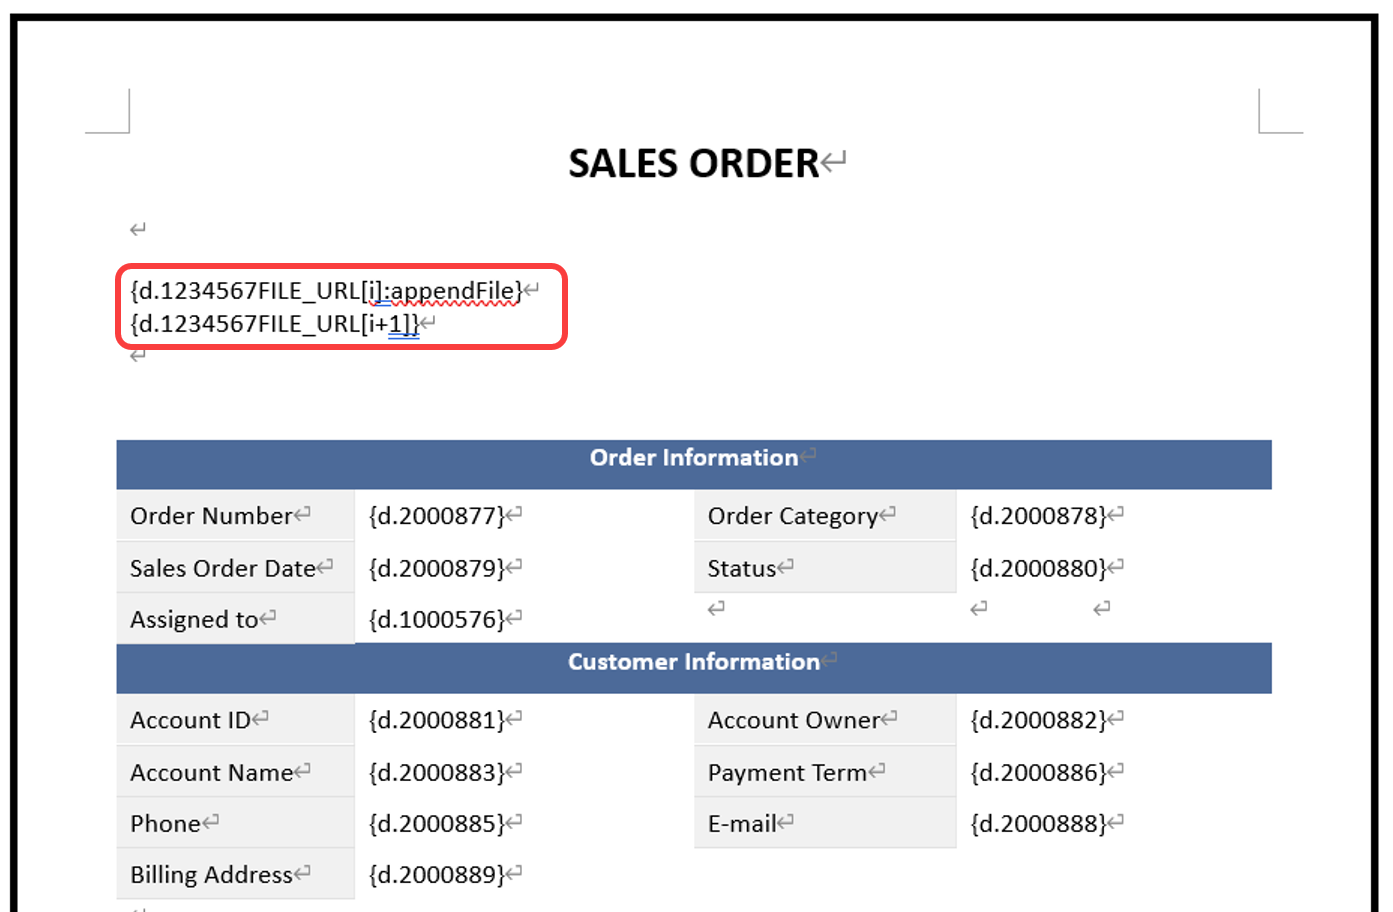
After uploading the template with these parameters, all PDF files uploaded to the specified field will be appended to either the beginning or the end of the final document.

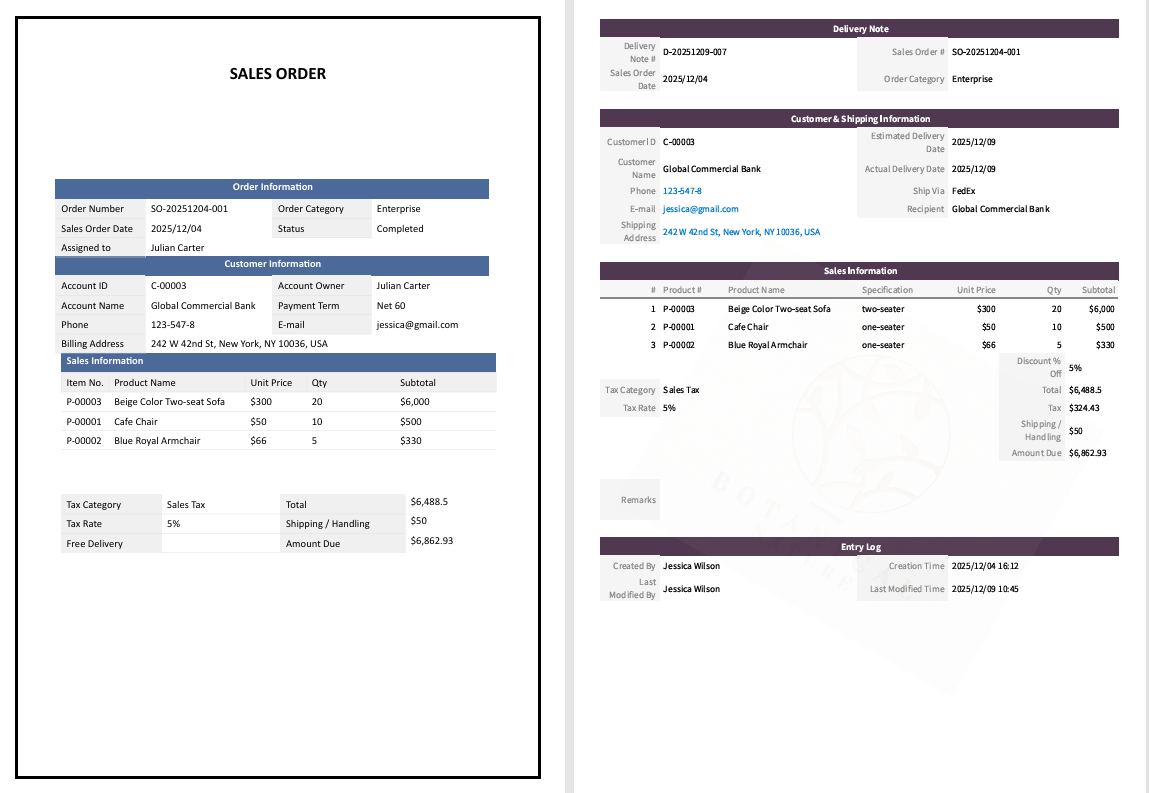
If your sheet includes multiple File Upload fields, simply apply the same parameter format to each field as needed. You may configure some fields to append their files at the beginning of the document and others at the end, depending on your requirements.
Note: The maximum file size after appending is 100 MB.
 Thank you for your valuable feedback!